Fences can adorn a property and give it an aesthetically pleasing appearance. However, that only describes well-maintained fences. Those old rickety fences that have seen better days a long time ago can be a real eyesore. In fact, not only can they significantly detract from how well a property looks, but they can also pose a health hazard at the same time. In this article, we dive into fence removal and KC Dumpster is here to give you a step-by-step on how to remove different types of fences.
If you have decided that it is time for a current fence to go, you need to know how to safely and successfully tear the fence down. We are happy to provide you with a step-by-step guide on doing precisely that; however, first, we need to get a little housekeeping out of the way.
Fence Removal Etiquette
You may be desperate to get rid of that unsightly fence, but you also need to bear in mind that it may be providing a barrier for someone else too. If a fence is not on your property lines or if even part of it crosses onto your neighbor’s property, you must speak with them first. Make sure that you have the right to remove the fence before you go a step further.
Put Safety First
There are many different tools that you may need to take down a potential fence if you are not careful. This includes tools like an electric saw. Safety should always be a priority when working with any type of tool. Usually, you need two people to take down a fence safely, so do not try to take on the task yourself.
Understand What You’re Actually Going To Tear Down

If your fence has posts that are still in good condition, you may not need to take them out at all. This means you may only need to remove fence panels or fence boards. If you are not removing the posts, it is crucial to make sure they are stable. If you push on them and they move fairly easily, you are best to remove them.
Step-By-Step Guide To Fence Removal
Now that we have the fence etiquette out of the way, we can move on to the steps involved in tearing down a fence. We will keep these as simple and straightforward as possible.
Tearing Down A Wood Paneled Fence
- Be prepared in advance by having all of the necessary equipment on hand. It is also advisable to call your utility company to ensure that no major lines run near or under your fence, as these will need to be marked accordingly.
- Remove panels by hammering near the post to loosen the panel. Place the hammer where the plank is attached to the post, and then pull the panel off. Systematically do this, starting at one end and making your way along the fence, removing each board in turn.
- Remove the wooden post. The method will vary depending on whether or not the post is set in concrete. We will outline each approach below.

Posts Not Set In Concrete
If the post is not in concrete, you should be able to loosen it by rocking it back and forth so you can pull it out by hand. Gloves can aid in giving a better group and also prevent splinters.
Posts Set In Concrete
If the post is set in concrete, loosening it by hand will probably not be an option. Take a shovel and loosen all of the dirt around the slab. Keep removing the dirt so that the entire top of the concrete is exposed.
Next, wrap a log chain around the concrete, do this in one strand and just under the lip. Secure the chain in place by hooking one end to itself. Now set the jack by the post. Take the other end of the chain and wrap it on the jack foot. Now use one hand to pump the jack handle and hold the chain in place with your other hand, which will create tension. Keep pumping until the post is out of the ground. Prepare for a significant amount of energy, especially just before the post lifts.
Tearing Down A Chain Link Fence
- As for step one above, prepare in advance for the fence removal. Have the necessary equipment on hand and ensure that you know any underground lines running close to the fence. Be sure to contact the city to come out and mark the area.
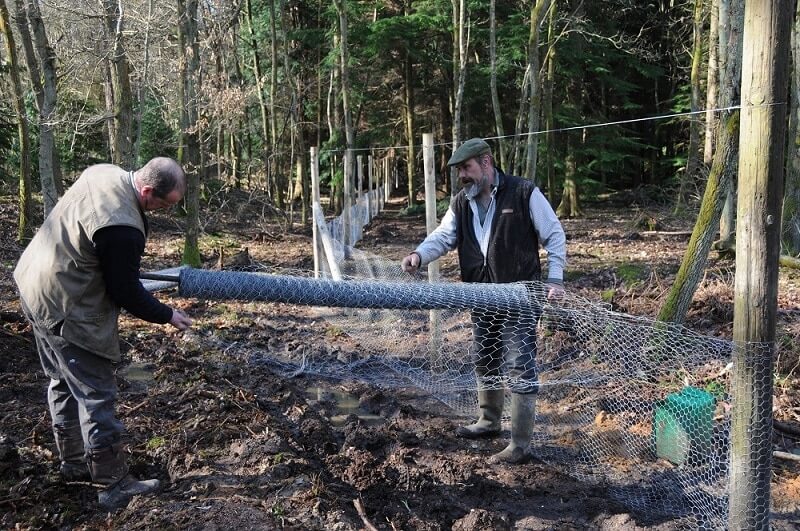
- Wearing gloves, use wire cutters to cut all ties that keep the fence secured to the posts. This will allow you to separate the fence from the posts and lie the fence on the ground, flat. Systematically, make your way down the fence until all ties are disconnected.
- If the chain link fence is a long fence, cut the fence into smaller pieces. Roll the link grids into tight cylinders. Tie with a rope or wire to keep the chain links together.

4. Next, remove the top rail. You can do this by loosening the bolts in the railing on each corner post using an adjustable wrench. You can then pull the top rail apart.
5. Now, remove the posts. You will need to dig to the base; this is usually around 12 inches. Use a rocking motion to loosen the post and then pull from the ground.
Where the post is set in concrete or will not budge with the above method, screw a c-clamp on the post at the base. Using a hi-lift, jack up until the post pops out of the ground.
Disposal Of A Fence (Wooden Or Metal)
Fence removal may seem overwhelming, but KC Dumpster hopes the above guide helps make the process smooth and simple. The disposal of the fence is where our team comes in. Renting a roll-dumpster to dispose of the fence, whether it is wooden or metal, makes the process of fence removal short and sweet. You can rely on KC Dumpster’s roll-off dumpsters to be delivered right to the location of the fence removal and then we haul off the mess. Contact us today for more information!
Leave A Comment